
How to set up a Travel Blog using WordPress on Bluehost
This article will guide you step by step on how to start a travel blog using Bluehost and WordPress. This is what I used and still use for this website and it’s proven to be a great choice as the costs are low and the interface easy to use and user-friendly.
Before getting into the steps there are three main important parts of a website you should be familiar with: the website domain, the web host and the website builder. The website domain is the address of your website (e.g mrworldling.com) , the host is a server that keeps your site on the web (e.g Bluehost) and the website builder is the tool you use to create and design your site. (WordPress.org) WordPress.org should not be confused with WordPress.com. While WordPress.org is a free website builder, WordPress.com is an all inclusive service which can include the domain, the host and the website builder. Think of it as an all inclusive package.
The reason I have chosen to use Bluehost as a host instead of WordPress.com is due to the costs being a lot lower for the services offered.
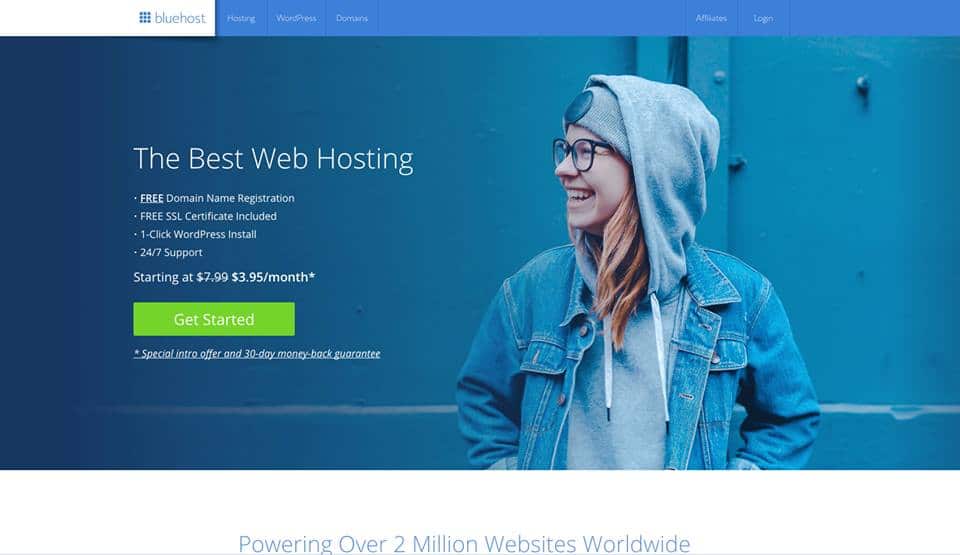
The reason Bluehost is great is because it provides user with invite links a free domain when they sign up. So, if you sign up using the link in this article, not only do you get a 50% discount but also a free domain for a whole year.
So now that we’ve covered the basic let’s see how we set up a travel blog using WordPress on Bluehost:
Table of Contents
Choose your Bluehost Plan
I’ve gone for the basic plan, but you can go for whichever suits your needs.

Select your Free Domain
Next is selecting your free domain. Make sure you choose a memorable one!

Confirm the duration of your plan
To get the best deal, I would highly recommend signing up for the 3 year offer. It is a higher initial cost upfront but the savings are massive. And after all, this is an investment and this is how you need to think about it. The extra domain privacy protection is optional but it is also a good extra investment you can take and at 99 cents a month, your wallet will not really feel it. I personally have, and would recommend selecting it too since it hides your personal information associated with your domain. Hence, your site will be less likely to be a target of identity fraud, cyber attacks or spam.

Pay with Peace of Mind
Now it’s time to seal the deal. Simply put your payment information in and you’re good to go. For extra peace of mind, you have a 30-days money back guarantee, so you can cancel at any time within a month if you decide to. No questions asked!

Set up your Bluehost Password
Next, you will get to create a password so you can log in your Bluehost Dashboard and set up WordPress.


Setting up WordPress
The first step will be choosing a theme. The initial choice is only temporary so don’t worry about it too much, we’ll get to that later on. For start, pick any of the free recommended themes . We will change that at a later step.

Once you selected the theme, you can start using WordPress straight away.

This is your Dashboard and where all the magic will happen.

Understanding WordPress functionalities
You will that on your left hand side you will have a couple of basic options which I’ll briefly explain below:
- BlueHost – This takes you to the Bluehost Dashboard where you can see information about your websites, domains, plans etc.
- Jetpack – This is a pre-installed plugin that basically allows your website to use the WordPress.com builder and interface. You get the free edition but you can also opt in for the paid one for more visibility on WordPress.com
- Dashboard – This is your WordPress dashboard where you can see statistics, information about your posts and pages etc.
- Posts – This is the place for creating your blog posts.
- Media– This is basically your library where you upload images or videos for use in posts and pages.
- Pages – This is the place for creating and managing your pages.
- Comments – This is the place for tracking, managing and moderating comments.
- WPForms – This is a pre-installed plugin which makes it easy to add personalised forms in your posts or pages. (e.g: contact forms)
- Appearance – This is where you get to choose your theme, widgets and customise the appearance of your site. More on these specifics later on.
- Plugins – Plugins are powerful tools you can use for your WordPress site. They are an absolute saviour for people who can’t code and even for coders as they can save huge amounts of time. More on these later on.
- Users – This is where you control who can access your WordPress dashboard and their rights. So for example, if you hire someone to manage your content you can add them there as a contributor with limited editing/publishing rights.
- Tools – This is where you can upload or export data. So for example you can import posts or pages from other blogs or websites you might have or export your content from the current blog/websites to external ones.
- Settings – This is where you can adjust general settings of the Website such as title, sub-title, date format, time format, membership options etc.
- OptinMonster – this is another powerful pre-installed plugin that offers customised statistic reports about your website’s traffic. This comes free but you can also choose to upgrade to a premium version for additional features.
These are only the basic functionalities you get at the beginning. The more you get your hands on WordPress and the more you discover and use plugins that left hand menu will increase in content and functionalities. For example, this is how my left hand menu looks now.

On your way to Fame!

Now it’s time to do what you do best! Get on writing and share your travel wisdom with the world!
Start with Bluehost here : www.bluehost.com
For further useful resources, make sure to also read the following articles:
How to start a Travel Blog in 6 Easy Steps
How much and why should you invest in your Travel Blog
How to make money from Travel Blogging
Full Disclosure: This article uses affiliate links. That means that if you sign up using the offers presented here, I will get a reward from the provider. Rewards are solely used to cover the running cost of the website.

